There’s something wonderfully nostalgic about a simple white tin loaf. No fuss, no fancy shapes—just honest bread that fills the kitchen with warmth as it bakes. This is the kind of loaf you’ll find in British kitchens everywhere: the daily bread for toast at breakfast, sandwiches at lunch, or buttered slices with soup for supper.
I have to admit I’ve only made bread a couple of times but it still nice an nostalgic from when my mum went to the supermarket and got a fresh loaf
A Little History Corner
The humble tin loaf has been a British staple since the 19th century, when rectangular metal bread tins became common in home and commercial baking. Unlike free-form loaves like bloomers or cottage loaves, baking in a tin gave bread a neat, square shape that was easy to slice evenly—perfect for sandwiches.
By the 20th century, tin loaves had become the everyday household bread, especially after the invention of pre-sliced bread in the 1920s. It was practical, dependable, and affordable—bread for everyone, every day. Considering we could have toast for breastfast, sandwiches for lunch and then beans on toast or on the side with soup we needed it!
Even now, despite supermarket shelves full of artisan loaves, the white tin remains beloved for its simplicity and versatility. Whether toasted, buttered, or piled high with fillings, it’s the bread that feels most like “home.”
Traditional White Tin Loaf Recipe
Makes: 1 large loaf
Time: About 2 hours (including rising and baking)
Ingredients
- 500g strong white bread flour
- 10g fine salt
- 7g dried yeast (1 sachet) or 15g fresh yeast
- 300ml warm water (hand-hot, not boiling)
- 25g butter (softened) or 1 tbsp olive oil
Method
1. Mix the dough
In a large bowl, combine the flour and salt. Stir the yeast into the warm water until dissolved, then pour it into the flour. Add the butter (or oil), and mix until a rough dough forms.
2. Knead
Turn onto a lightly floured surface and knead for 8–10 minutes until smooth and springy. (Or use a stand mixer with a dough hook for 5–6 minutes.)
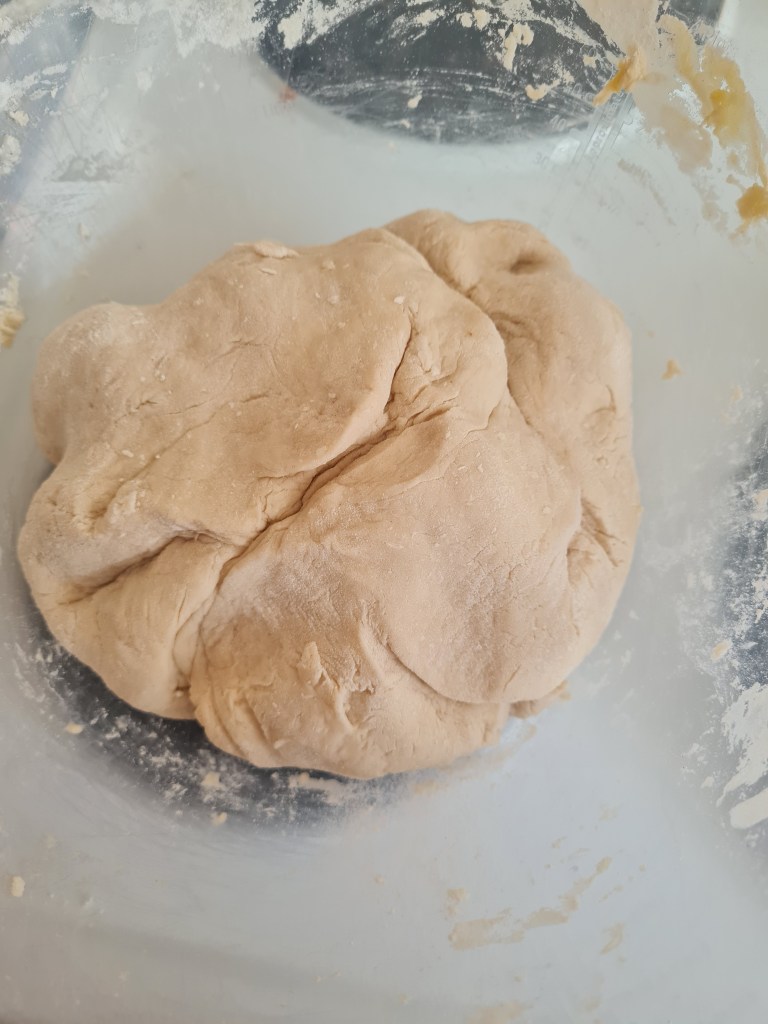
3. First rise
Place the dough in a lightly oiled bowl, cover with a tea towel, and leave somewhere warm for about 1 hour, or until doubled in size.
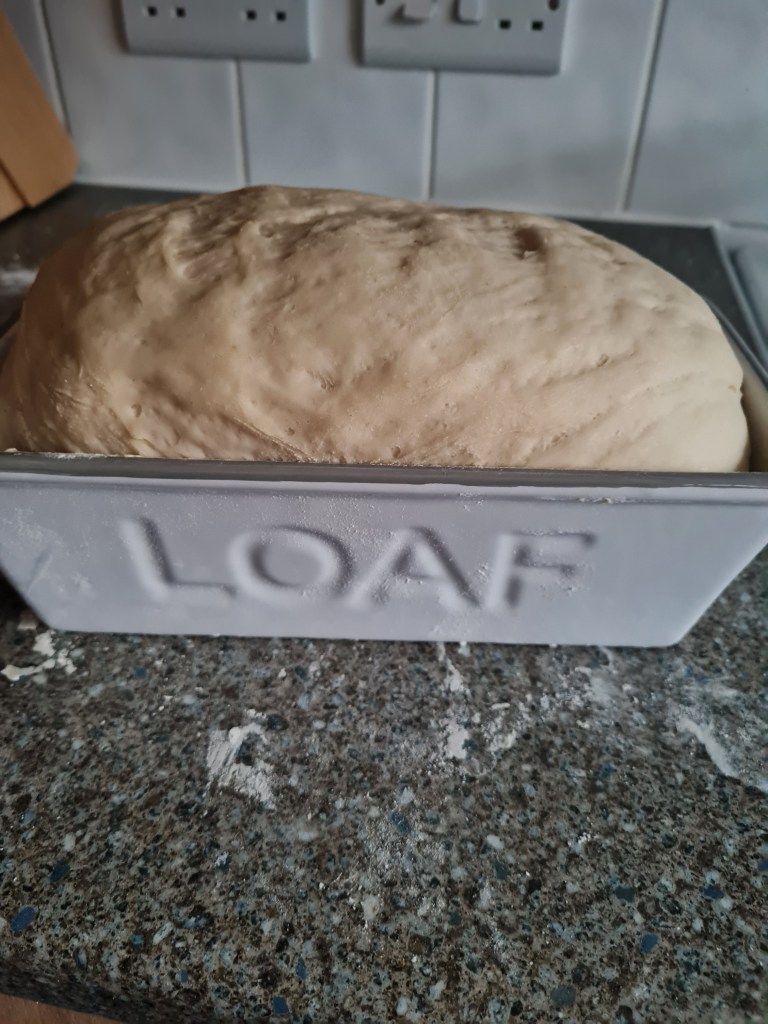
4. Shape & second rise
Knock back the dough, then shape it into a rectangle. Roll it tightly and fit it into a greased 2lb loaf tin. Cover and let rise for another 40 minutes, until the dough crowns just above the tin.
5. Bake
Preheat the oven to 220°C (200°C fan) / 425°F / Gas Mark 7. Place a small tray of water in the bottom of the oven for steam. Bake for 25–30 minutes until golden and hollow-sounding when tapped on the bottom.
6. Cool & enjoy
Remove from the tin and cool on a wire rack. Slice thick, butter generously, and enjoy!
Serving ideas
- Toast with marmalade for breakfast.
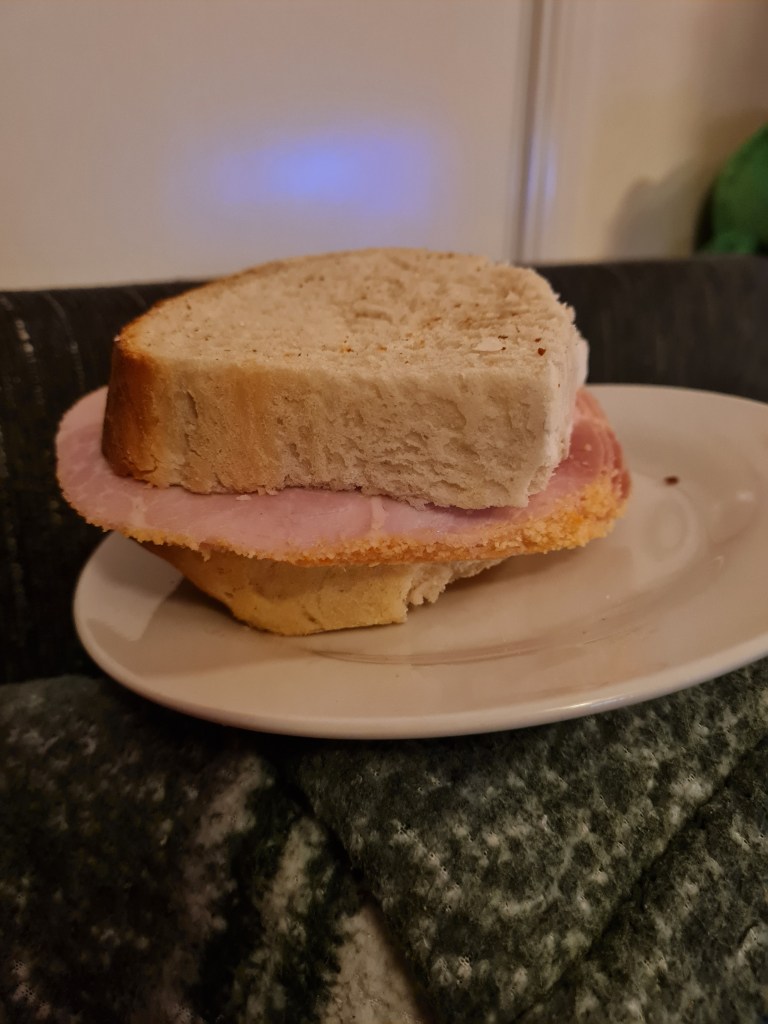
- A proper ham sandwich. Erika’s favourite
- Thick slices alongside a steaming bowl of soup.
The load isn’t about show. It’s about comfort and tasty just plain bread and butter on that still warm, fresh from the oven that just hits the spot.
Erika’s Thoughts on the Bake
- What did you enjoy most about making this bread? The proving part
- Was there anything tricky or unexpected? The kneading as it was sticky
- How did you feel about the final result? It tasted really good!
- What’s your favourite way to eat it—fresh, toasted, or with something special? Ham sandwich, but on its own with butter is nice too.
- Would you bake it again (or try a twist on it next time)? Only if I don’t have to kneed it.
Go on and make a load of bread and have that wonderful taste of fresh bread. It hits differently from store brought or even from a bakery. Something you make yourself is just so wonderful!

Leave a comment